KF2 Cosmetic Item Tutorial
This is a how-to guide for implementing a new cosmetic item for submission to the Killing Floor 2 workshop. The example is for adding a new static cosmetic items to Killing Floor 2 - in this case, we are creating a new hat for Rev Alberts.
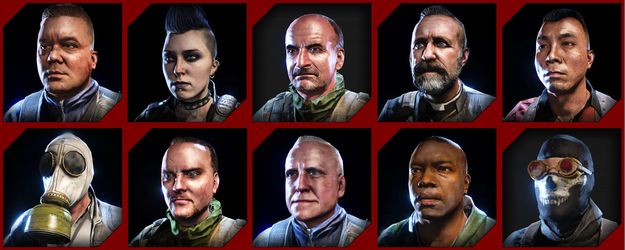
- Select which character you would like to make a cosmetic for - Alberts, in this case:
- Open the character's source art file so you can model your cosmetic using the character as reference for placing, position and scale. You can find the character source art files here: KF2 Character Source Art Download
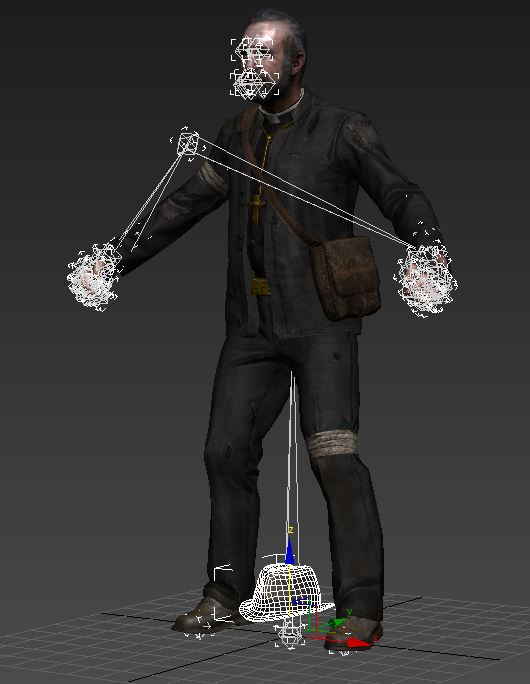
- Model and texture your cosmetic using the character as reference, tweak scale and positioning until it looks correct.
- Align your cosmetic pivot to the characters Head bone, as follows:
- Select your item.
- Select "Affect Pivot Only" in the Hierarchy tab in the modifier panel.
- Select the Align tool.
- press H (select by name) and select the "Head" bone.
- use the following align settings:

- Press ok. Your cosmetic pivot is now aligned to the character's head bone.
- Turn off "Affect Pivot Only" in the modifier panel to go back to regular translation mode.
- Center your item to 0,0,0. You can do this by putting all 0's on the world transform matrix, as follows:
- right click on the move tool.
- put all zeros in the transform matrix. This should put your cosmetic at 0,0,0.
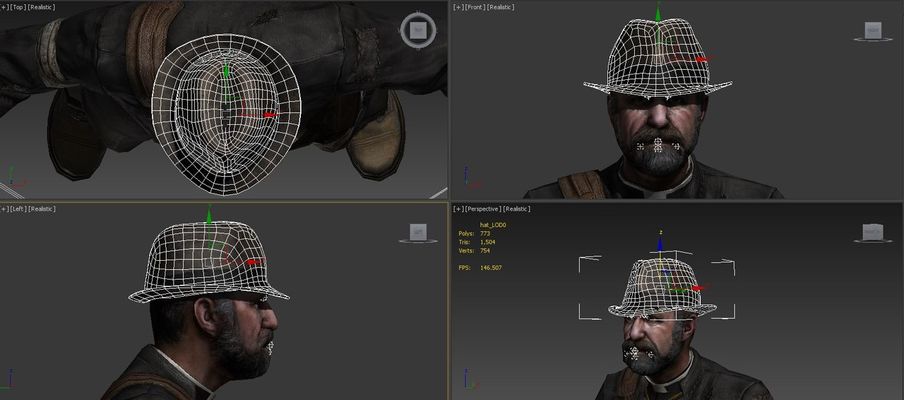
- At this point your item is ready for export. It should look something like this:
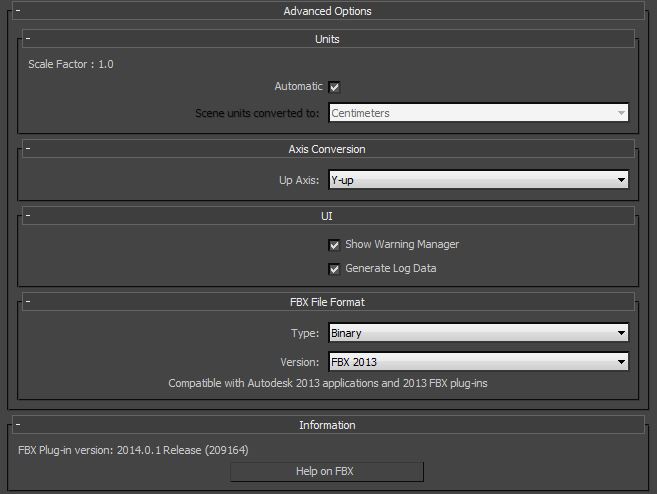
- Select only your cosmetic and "export selected" as an .FBX using the following settings:
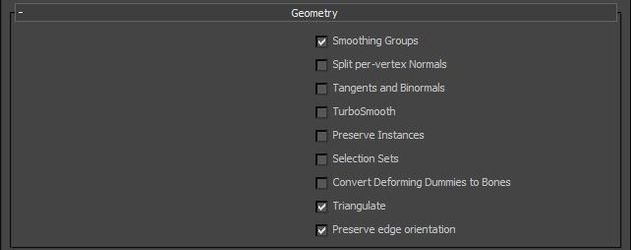
- Everything under Animation, Cameras, Lights, and Embed Media should be unchecked.
- Make sure you are using FBX 2013 and use the same plug in version as shown:
- Use the naming conventions "CHR_<CosmeticName>_Cosmetic". Do not use spaces, only underscores in the naming. In our example, it will be CHR_Fedora_Cosmetic.
- Open the Killing Floor 2 - SDK located in your Steam Tools library.
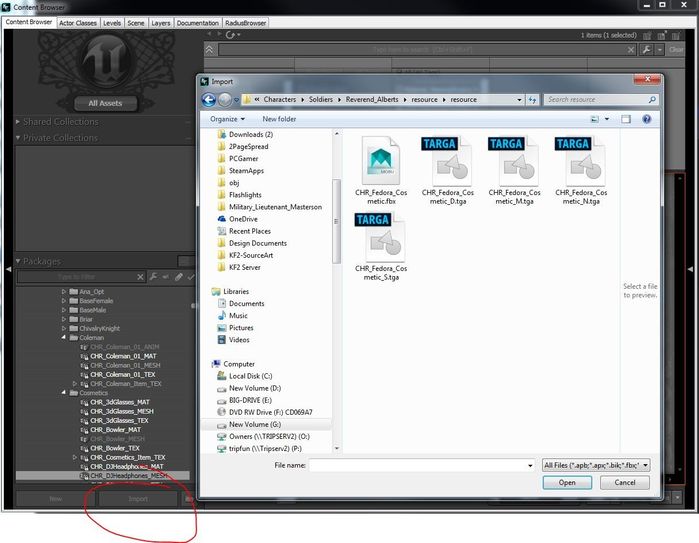
- Open the content browser and import your static mesh:
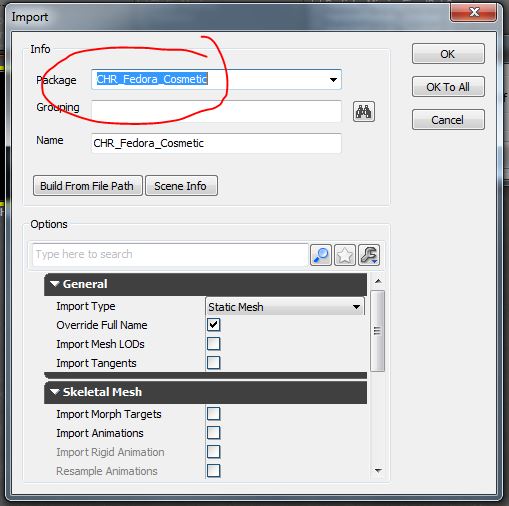
- Give your package a new name using the same naming conventions you used for the mesh. CHR_<CosmeticName>_Cosmetic:
- Import your textures and use the appropriate compression settings and lod groups for each texture:

- On the lower bottom half of your content browser click the "NEW" button.
- A new package window will pop up
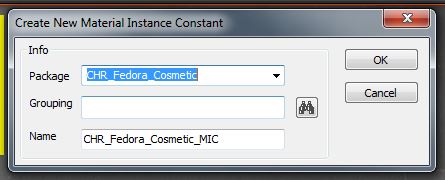
- Under the factory drop-down select "MaterialInstanceConstant"
- Give your package and material instance a name using the naming conventions CHR_<CosmeticName>_Cosmetic_MIC:
- Save your package
- Find and open your new material instance.
- With your material instance open, locate this material in the content browser. KFGame\Content\Packages\MaterialLib\Item_Mat_Lib.upk Material'Item_Mat_Lib.CHR_Item_PM'
- Select that materail and click the green arrow next tot he Parent field near the top of your Material instance. That will make your material instance a child of our Item Material.
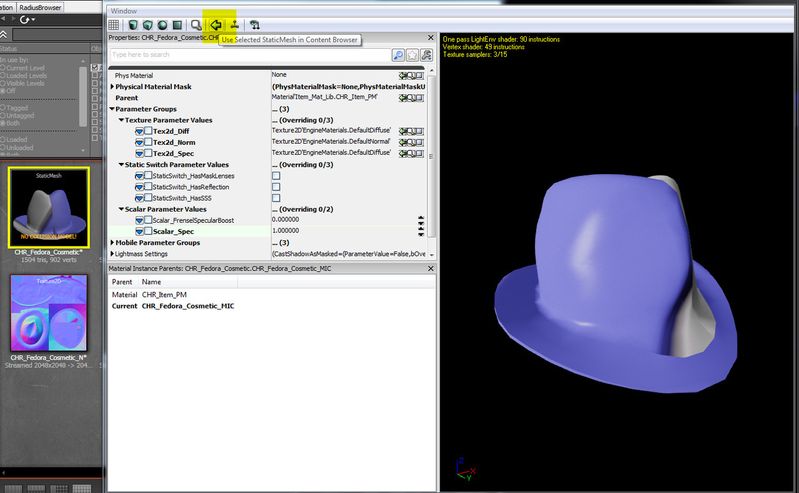
- You can apply your cosmetic mesh as a preview mesh in the material instance by selecting your mesh and clicking the "Use Selected StaticMesh in Content Browser" button:
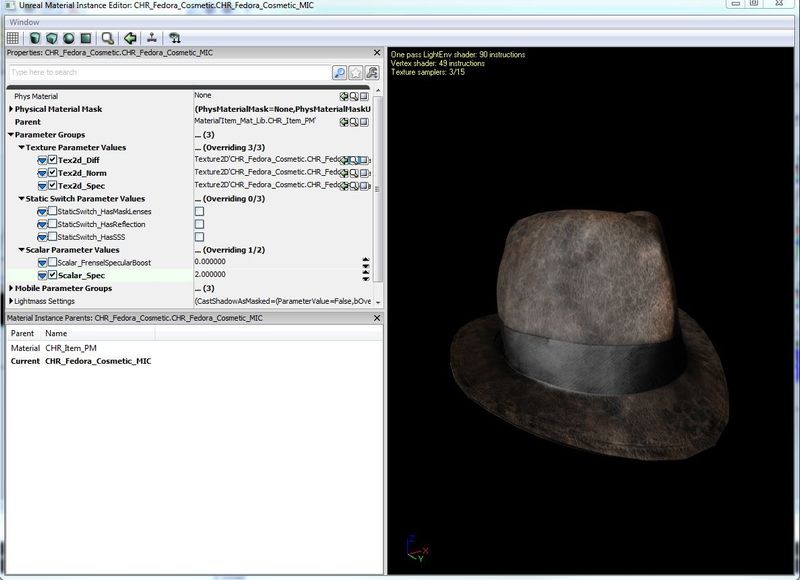
- Override the default material instance (MIC) settings by clicking the check box by each parameter and assigning your content or tweaking the parameter value:
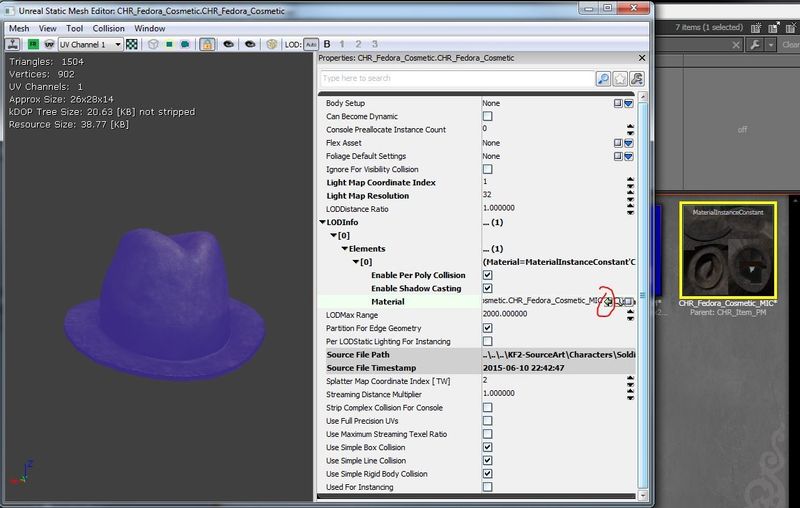
- Now apply your new material to your cosmetic mesh. Double click your mesh, then select your material in the content browser and click the apply button:
- Now let's test your mesh on the preview socket for your character to make sure everything is lining up as it should. My cosmetic is for Alberts, so I need to open his Uniform skeletal mesh located in the package CHR_Alberts_01_Mesh. Right click on the CHR_Alberts_01_Mesh package and click "Fully Load" to make sure all the mesh content is loaded.
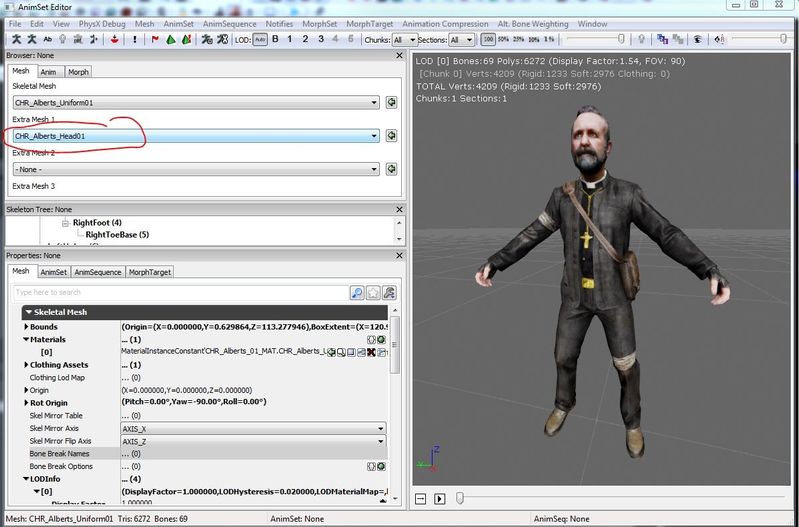
- Open the CHR_Alberts_Uniform01 skeletal mesh by double clicking , then select Alberts' head in the "Extra Mesh 1" Option:
- Open the socket manager by clicking the small red icon with the small arrow on it, on the top bar:
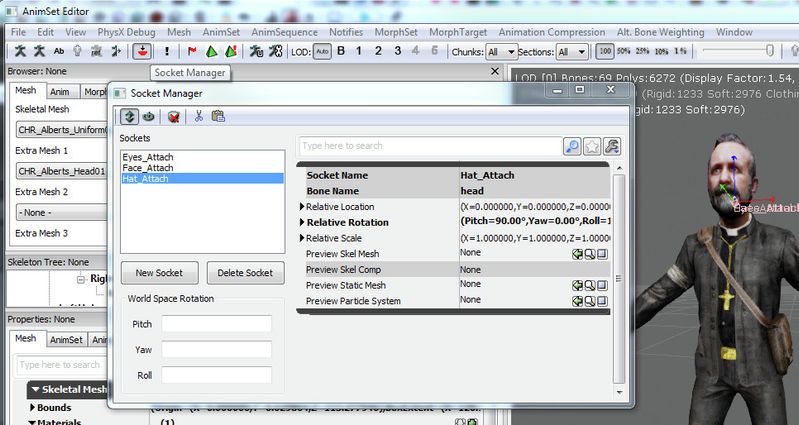
- Select the socket that matches the type of cosmetic you are making. In this case I'm making a Hat_Attach cosmetic.
- Go to the content browser and select your static mesh cosmetic and assign it to the preview Static Mesh Slot:
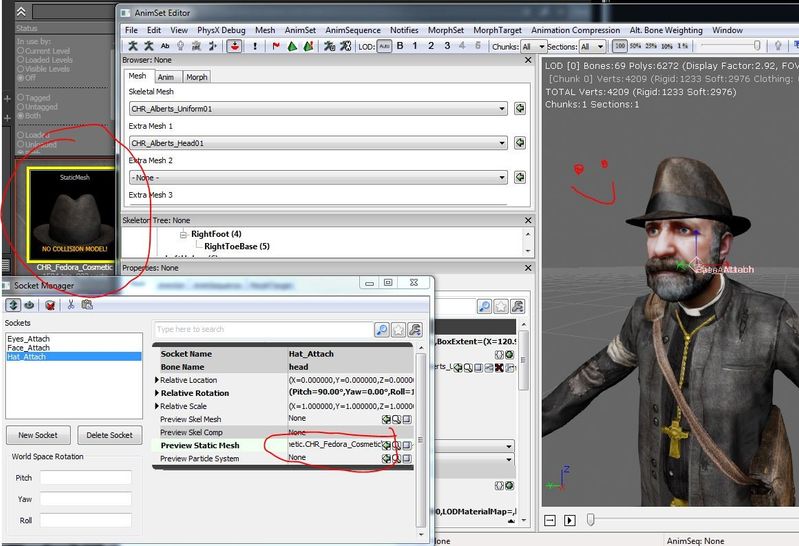
- Close the socket manager and rotate around your mesh and make sure it looks cool. Make any tweaks back in 3ds max and reimport until the mesh looks proportionate and doesn't have clipping issues.
- Save your package. Do NOT save the Alberts mesh package.
Related articles