...
Step-by-step guide
- Open the SDK.
- File > Open and browse to <Your Drive Steam is Installed on>\Program Files (x86)\Steam\steamapps\common\killingfloor2\KFGame\BrewedPC\Maps\SDK.
- Open ItemTest_<Character Name>.kfm that matches the character you are creating the item for. For example ItemTest_DJScully.kfm if you are working on Scully.
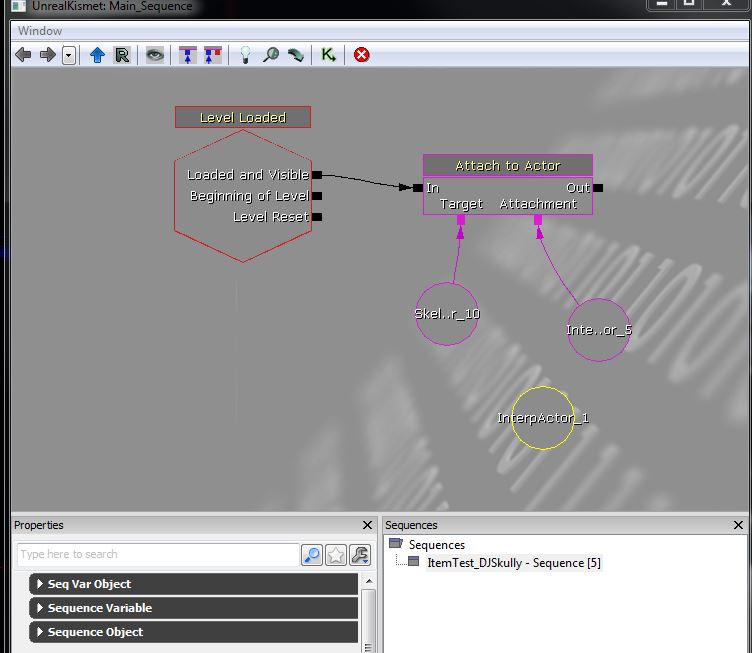
- It should look something like this:

- Open the content content browser and find the static mesh of the item you created earlier. I'm going to test the DJHeadphones:

- With the static mesh selected in the content browser, rightclick on the ground and select "Add InterpActor: <Your asset name> to add it to the level. It's very important you place as an InterpActor or your item will not attach to the character.:

- With your mesh now placed in the level, open Kismet by clicking on the kismet Kismet icon.:

- With kismet open, go back to the level 3d view and click on your item to select it.
- In the kismet Kismet workspace, with your item selected, right click in the workspace and click "New Object Var Using InterpActor_1":

- This will add your interp actor as a variable in kismetKismet:
- Right click on the purple box below attachment "Attachment" on the Attach to actor node and seelct select "Break Link To" the existing link:
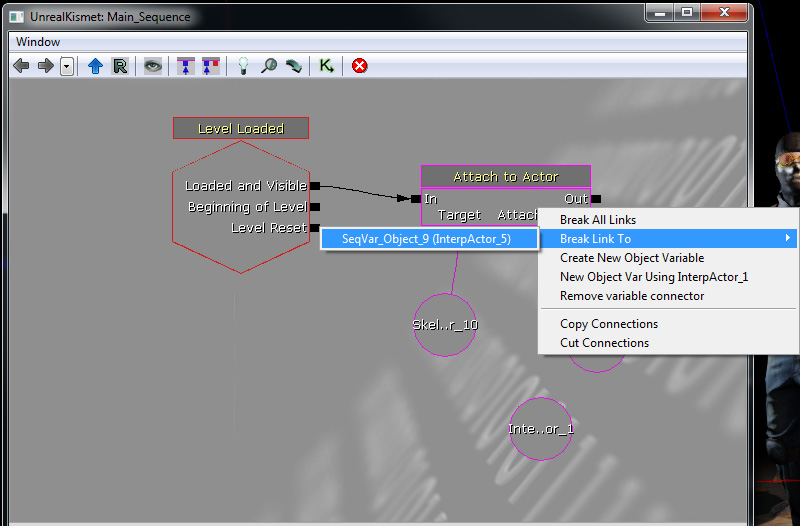
- Once the link is broken, Left left click on the same purple box below the Attachment and drag a line to your new item interp actor variable.
- You can delete the old variable that was previously previously connected if you want.
- Close Kismet.
- Click the "Play this Level in editor Window" button to test your item in game.:

- If you created your item correctly and followed this tutorial correctly your item should be attached to the animated character like this.

...