How to guide for implementing a new cosmetic item for submission to the Killing Floor 2 workshop
Adding new static cosmetic items to Killing Floor 2
- Select which character you would like to make a cosmetic for.

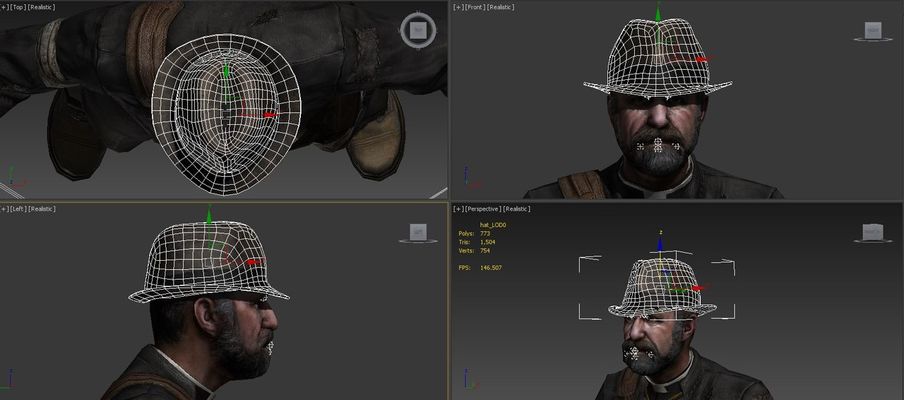
- Open the character's source art file so you can model your cosmetic using the character as reference for placing, position and scale.
- Model and texture your cosmetic using the character as reference, tweak scale and positioning until it looks correct.
- Align your cosmetic pivot to the characters Head bone.
- Select your item.
- Select "Affect Pivot Only" in the Hierarchy tab in the modifier panel.
- Select the Align tool
- press H (select by name) and select the "Head" bone
- use the following align settings

- Press ok. Your cosmetic pivot is now aligned to the character's head bone
- Turn off "Affect Pivot Only" in the modifier panel to go back to regular translation mode
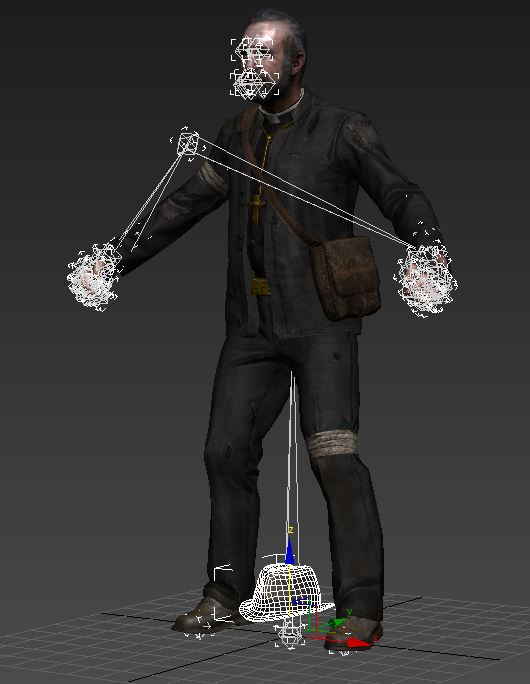
- center your item to 0,0,0. You can do this by putting all 0's on the world transform matrix
- right click on the move tool
- put all zeros in the transform matrix. This should put your cosmetic at 0,0,0
- At this point your item is ready for export. It should look something like this.
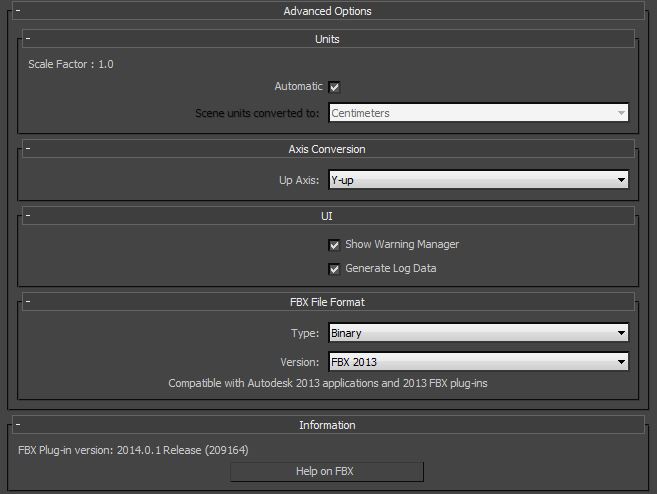
- Select only your cosmetic and export selected as an .FBX using the following settings.
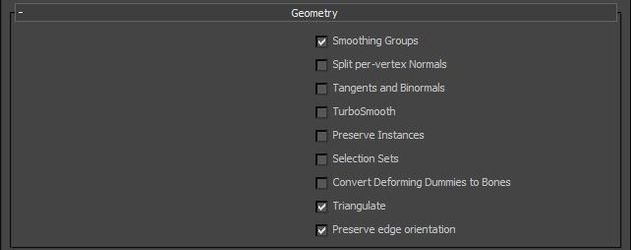
- Everything under Animation, Cameras, Lights, and Embed Media should be unchecked
- Make sure you are using FBX 2013 and use the same plug in version as shown
- Use the naming conventions "CHR_<CosmeticName>_Cosmetic" (do not use spaces, only underscores)
- Open the Killing Floor 2 - SDK located in your steam "Tools" library.
- Open the content browser and import your static mesh
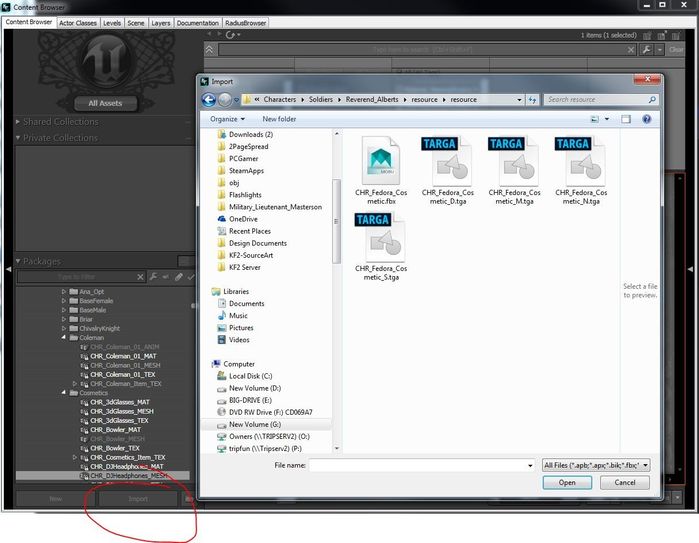
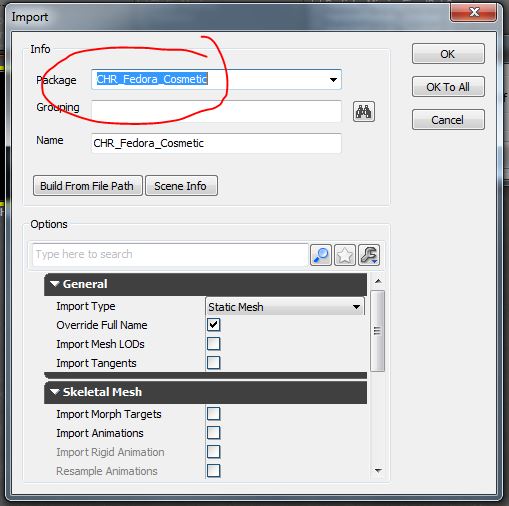
- Give your package a new name using the same naming conventions you used for the mesh. CHR_<CosmeticName>_Cosmetic
- Import your textures and use the appropriate compression settings and lod groups for each texture

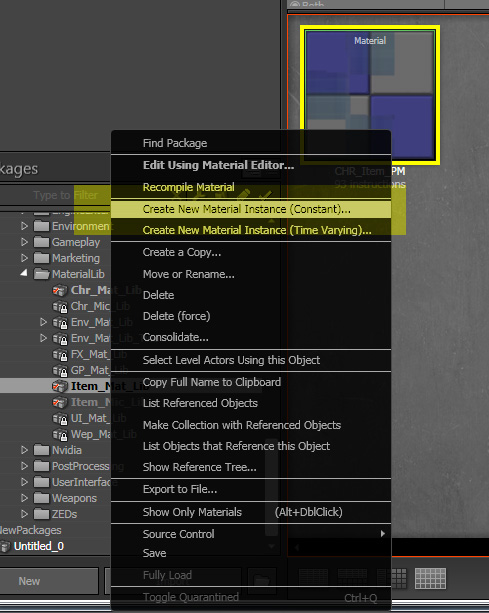
- Create a material instance from our cosmetic item master material located here: G:\KF2\KFGame\Content\Packages\MaterialLib\Item_Mat_Lib.upk Material'Item_Mat_Lib.CHR_Item_PM'
- Right click on CHR_Item_PM material and click "Make new material instance constant.
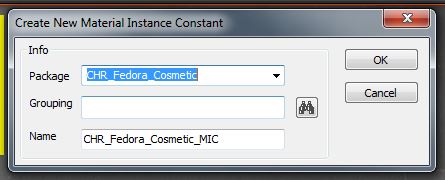
- Browse to the package you created earlier and name your material instance using the naming conventions CHR_<CosmeticName>_Cosmetic_MIC
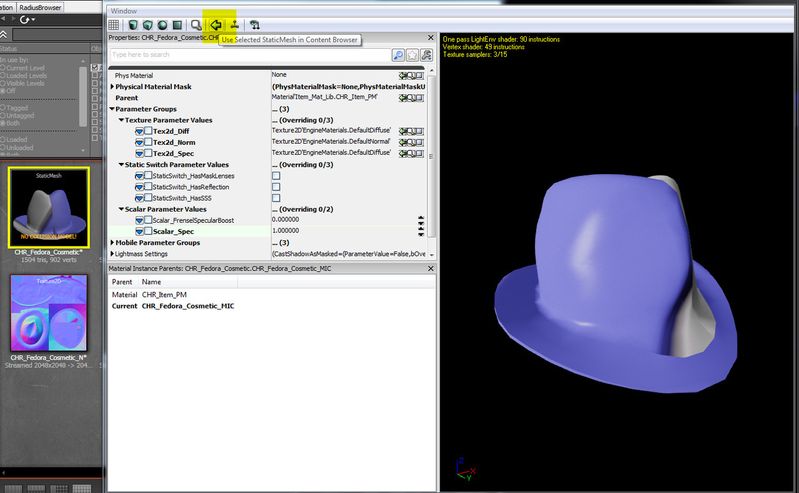
- You can apply your cosmetic mesh as a preview mesh in the material instance by selecting your mesh and clicking the "Use Selected StaticMesh in Content Browser" button
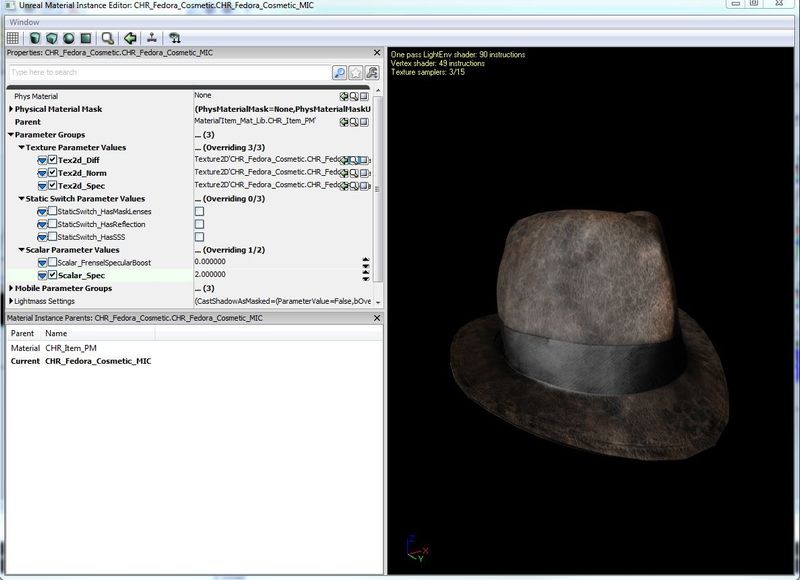
- Override the default material instance (MIC) settings by clicking the check box by each parameter and assigning your content or tweaking the parameter value.
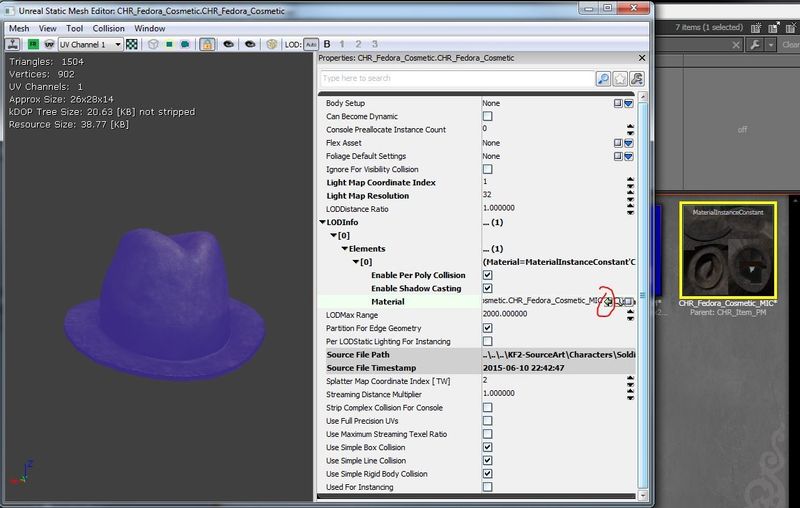
- Now apply your new material to your cosmetic mesh. Double click your mesh, then select your material in the content browser and click the apply button
- Now lets test your mesh on the preview socket for your character to make sure everything is lining up as it should.
Related articles