How to Create and Run a Custom GameInfo
- Zane (Deactivated)
Prerequisite Tutorial
If you have not setup your Unrealscript environment yet, please go back and follow this tutorial first.
Why make a custom game info?
Custom game modes can be used in many different ways. This includes for cinematic, play styles, or to simple override existing values. These values can be, and are not limited to, CheatManagers, PlayerController classes, trader archetypes and so on. Multiple custom game modes can be found on the Steam Workshop. In this case, we are going to make a simplistic game mode that sets all players to be the Berserker perk.
Making Our Game Info
The GameInfo class in conjunction with the GameReplicationInfo class are what drive the game mode(s). The Survival mode and Versus Survival modes are both based on KFGameInfo.uc. In our case, we are going to base ours off KFGameInfo_Survival.uc.
- Create custom Game mode class Script, KFGameInfo_ExampleSurvival.uc
- In the DefaultProperties, change the PlayerControllerClass to class'MyMod.KFPlayerController_Example'
- Save the script in the MyMod folder as found in the previous tutorial.
We will come back to this class later.
class KFGameInfo_ExampleSurvival extends KFGameInfo_Survival;

DefaultProperties
{
	//defaults
	PlayerControllerClass=class'KFGame.KFPlayerController_Example'
}
Making Our PlayerController
A simple way to force all player perks to be Berserks is to simple remove the other choices and have the class validate the perk. We will be doing this in the PerkList that lives in the DefaultProperties of the KFPlayerController class.
- Create your class KFPlayerController_Example.uc and save it to your MyMod directory.
- Extend the KFPlayerController class and create your DefaultProperties block.
- Remove all Perks from the PerkList that are not the Berserker.
- Save the file
class KFPlayerController_Example extends KFPlayerController;

DefaultProperties
{
	//defaults
	//PerkList.Add((PerkClass=class'KFPerk_Berserker'))
	PerkList.Remove((PerkClass=class'KFPerk_Commando')
	PerkList.Remove((PerkClass=class'KFPerk_Support')
	PerkList.Remove((PerkClass=class'KFPerk_FieldMedic'))
	PerkList.Remove((PerkClass=class'KFPerk_Demolitionist'))
	PerkList.Remove((PerkClass=class'KFPerk_Firebug'))
	PerkList.Remove((PerkClass=class'KFPerk_Gunslinger'))
	PerkList.Remove((PerkClass=class'KFPerk_Sharpshooter'))
	PerkList.Remove((PerkClass=class'KFPerk_Survivalist'))
	PerkList.Remove((PerkClass=class'KFPerk_SWAT'))
}
Compile Scripts and Test
- Compile via the Workshop Upload Tool or Command Line
- Open the command prompt and navigate to your Steam Killing Floor 2 binaries directory (<drive:>\Steam\SteamApps\common\killingfloor2\Binaries\Win64)
- run the following command KFGame.exe KF-BioticsLab?Game=MyMod.KFGameInfo_ExampleSurvival -log
- If your have not brewed your mod, remember to add the command -useunpublished
- This command can also be run through the console in game by pressing F3 or ` to open the console
- Once in game, check your perk list, the only option should be Berserker and your perk should be Berserker. See Figure 4.1
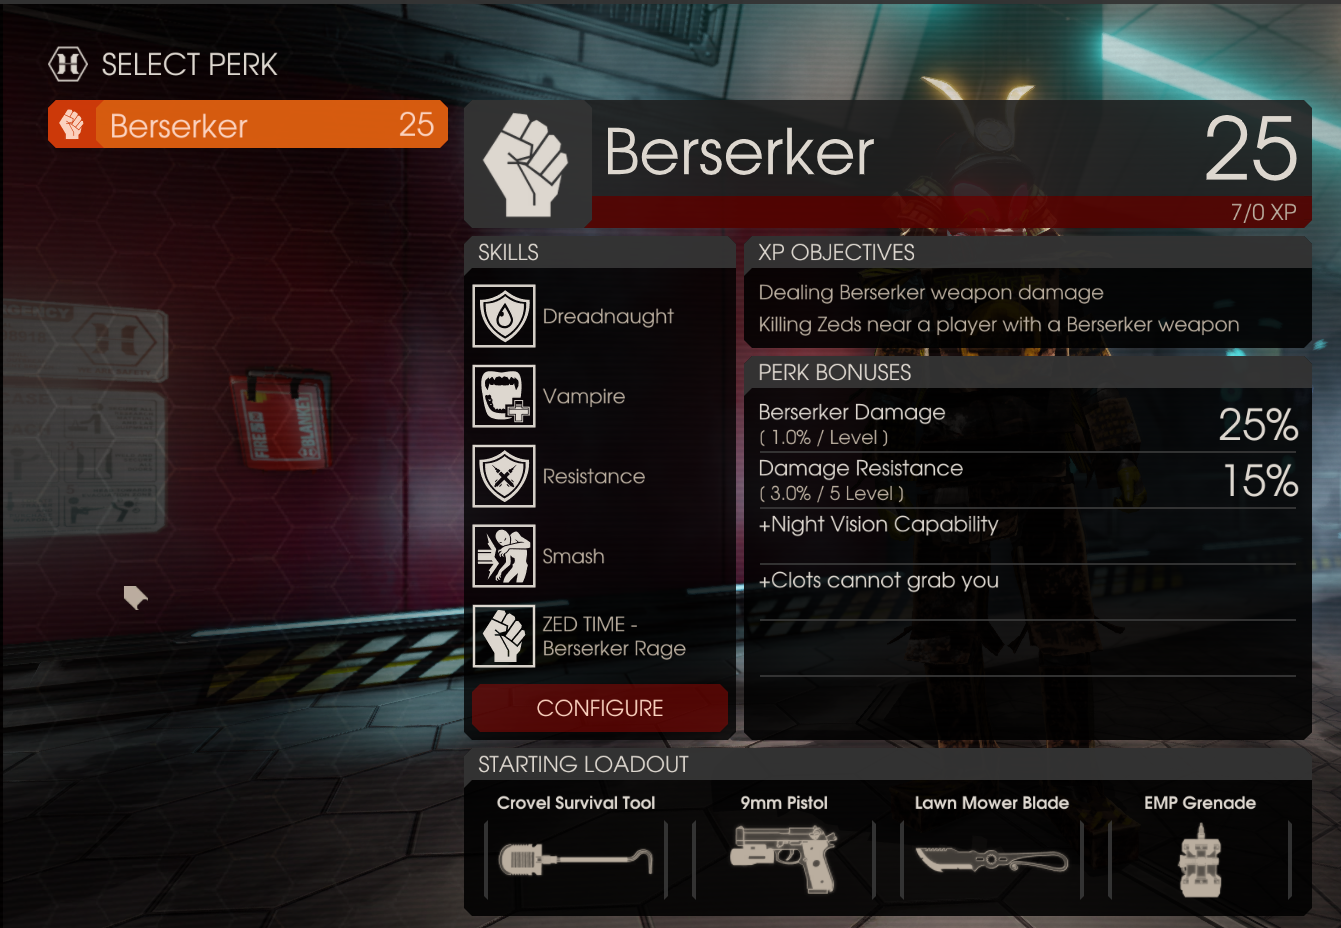
Figure 4.1